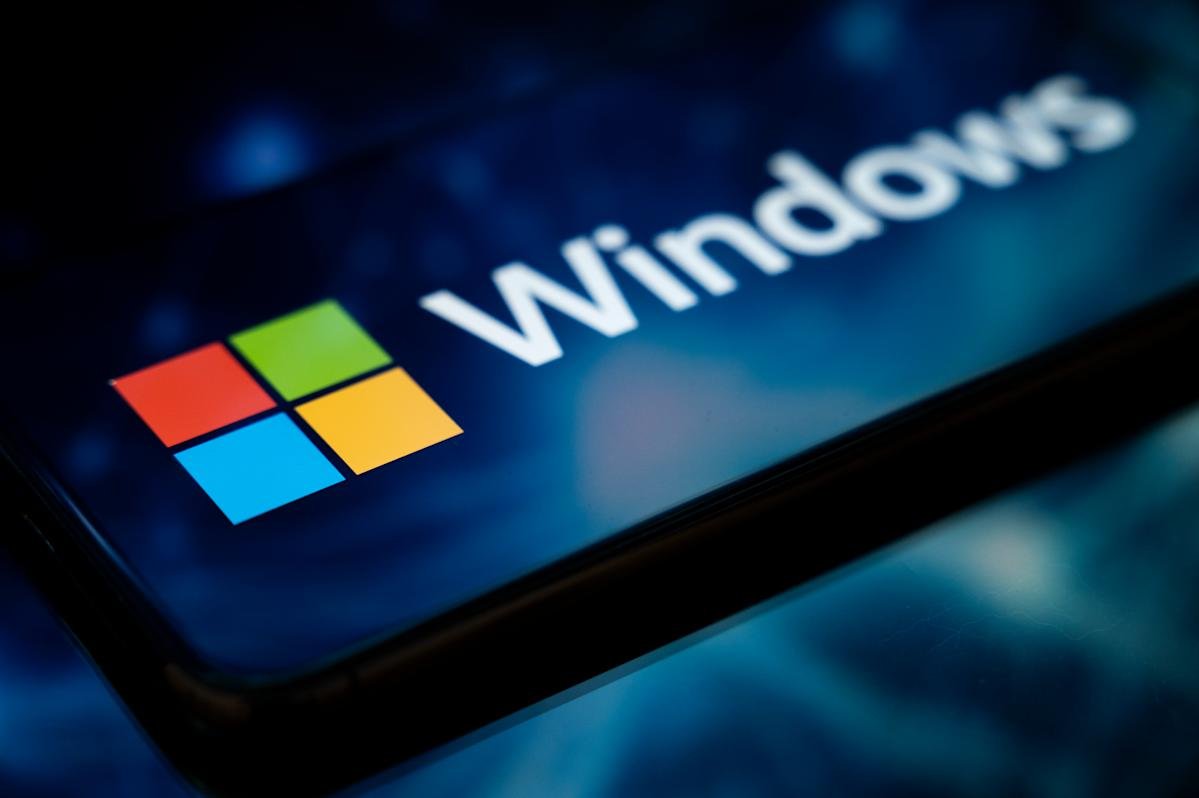
You have identified it for some time: Microsoft has decided that it is transferring Home windows 10 to “finish of life” standing beginning on October 14. Which means whereas Home windows 10 PCs will proceed to work after that date, they’re going to cease getting necessary safety updates by default. That leaves you with three decisions if you wish to be certain that your laptop stays safe:
You may select to improve to Home windows 11 without spending a dime in case your laptop is appropriate.
You should buy a brand new PC that already has Home windows 11 pre-installed (or go for an alternate, like a Mac or a Chromebook).
Overlook about Home windows 11 proper now and join the Prolonged Safety Updates (ESU), which helps you to kick the can down the highway for a yr.
For the reason that final one is straightforward — and may now be accomplished without spending a dime in lots of instances — that is what we’re specializing in right here. We’ll stroll you thru the steps of protecting Home windows 10 in your PC… for now, at the least.
How to join Home windows 10 Prolonged Safety Updates in your laptop
We will query Microsoft’s motives for killing off Home windows 10, despite the fact that it really works completely effectively on most older PCs. However with out these periodic safety updates, your PC will turn out to be more and more vulnerable to malware with every passing week. To that finish, enrolling in Prolonged Safety Updates (ESU) offers you one other yr of utilizing Home windows 10 securely.
At one level, Microsoft urged the 12-month extension would require a $30 payment. Whereas that is nonetheless an choice, there’s now a free path for Home windows 10 customers within the US. This is tips on how to make it occur.
Step 1: Make sure that your PC is updated
You will discover out in case your laptop is up-to-date by going into your Settings > System > About, then scroll right down to see what model you are operating. If not, you will wish to ensure you additionally set up all of the Home windows 10 updates obtainable.
Step 2: Ensure you’re utilizing an administrator account
If you happen to share a pc with a number of individuals in your family, ensure you’re signed in to the administrator account. Usually, it is the primary account created on the pc. You will know it is the proper one whenever you see “Administrator” underneath the identify. (You may double-check underneath Settings > Your Data.)
Step 3: Confirm in case your PC is eligible to improve to Home windows 11 (or not)
If you happen to see an choice to improve to Home windows 11, simply try this. It is free and it retains you within the Home windows loop. In any other case, proceed following the steps under so you’ll be able to preserve your laptop protected with safety updates.
Step 4: Enroll in Prolonged Safety Updates
Join ESU by deciding on Replace & Safety from the Settings menu. Click on the “Enroll Now” sign-up hyperlink, as pictured under. Once more, you may even see an choice to obtain Home windows 11 in case your laptop meets the necessities (once more, undoubtedly try this when you see it).

Discover out if it’s good to replace your laptop. (Screenshot/Engadget)
If you happen to’re not seeing the “Enroll now” hyperlink, you most likely must replace and set up the newest Home windows 10 updates (as famous above).

By enrolling in Prolonged Safety Updates, you will have one other yr earlier than it’s good to improve to Home windows 11. (Screenshots/Engadget)
Step 5: Select your improve technique
Subsequent up is selecting the way you wish to enroll, and you’ve got a number of choices. The best means is to again up your PC settings. It is free, however it takes a bit of little bit of time since you will must again up your information. Once more, you will have to be utilizing your administrator account to get began.

Again up your PC earlier than you enroll in ESU. (ExplainingComputers through YouTube)
That stated, the free choice right here comes with two catches, at the least for customers within the US. (European customers will get the free choice with no strings hooked up.) The primary is that you will be linking your Home windows login to Microsoft’s cloud-based on-line service. Most customers have seemingly already accomplished this (in the event that they’re utilizing CoPilot, Workplace 365, GamePass, OneDrive or certainly one of Microsoft’s different numerous on-line companies). However when you’ve particularly opted for an area login to Home windows, the value you are paying for this “free” extension is becoming a member of the cloud-connected Microsoft universe.
The opposite potential difficulty is that the free backup solely applies to the primary 5 GB of storage. Something extra, and also you’ll must pay up for Microsoft’s OneDrive companies. However fortunately, you’ll be able to flip off something you do not wish to again up by going to Settings > OneDrive and toggling off choices like Paperwork, Photos and Movies to get in underneath the free threshold to start out.
When you’re signed in, a window will pop up that claims “Add this system to obtain Prolonged Safety Updates.” Click on Add Machine to enroll it. Click on Accomplished.
A notice: Due to YouTube’s Explaining Computer systems channel, the place we grabbed the screenshot above (since our take a look at PC was already signed up for cloud backups, and did not present the splash display to decide on choices). You may watch their full video if you would like a deeper dive into the method.
That is it, you are accomplished! (Till subsequent yr)
You have received 12 extra months to determine an alternate improve path to Home windows 11. If something modifications subsequent yr, we’ll replace this story with what your subsequent steps are.

You probably did it proper when you see this window. (Screenshot/Engadget)


